
Growing Hops at Home: An Act of Tradition
*This article is dedicated to the memory of J.T. Holden. A great writer and friend, who always reminded me that it’s okay to be a little weird.
The Hops plant (Humulus lupulus) is a plant with a story that is deeply rooted in both time and tradition. Far before hops met beer, there was documented proof of its use by humans. As far back as the time of the Romans, the flowering cones of the female hops plant were used to help relieve people that suffered from conditions such as anxiety and insomnia. Way before anyone even thought of adding hops to beer, people were adding it to tea for its soothing effects. Thanks to science, we now know that this is partially due to the small levels of the chemical dimethylvinyl (carbinol), a chemical with slight sedative-like effects. It wasn’t until the year 822 AD that written evidence of using hops in the making of beer came to be. A man by the name of Abbot Adalhard, from the Benedictine monastery of Corbie in the Picardy region of northern France, set on paper a list of rules by which to run the abbey. Included in this set of rules was the direction to add hops flowers to the beer that they were brewing. Since then, hops and beer have been rather close companions and it’s hard to think of one without thinking of the other. Beer without hops is rather sweet. The addition of hops flowers to beer adds a mild bitterness as well as some flavor and aroma. The good news is that anyone can become a part of this time-honored tradition by growing his or her own hops at home. It’s rewarding, especially, if you brew your own beer. It is also surprisingly easy to do.
The hops plant grows upwards as a vine and is a hardy perennial member of the flowering plant family Cannabaceae. For growing at home, they are bred through asexual reproduction by means of their rhizomes (roots). A rhizome is similar to a bulb, like one would find with a tulip or iris, just different in shape. As the hops plant grows each year as does its roots or rhizomes. Each year the growers of hops will dig down to the roots and split the rhizomes to prevent the base of the hops plant from spreading to far. These unearthed rhizomes are then sold online and in brewing supply stores for us to grow at home. The reason they are reproduced this way is to ensure that the gender of the plant will be female. For only the female hops plant will grow the beautiful hops “burr” that turns into the more celebrated and commonly seen hops flower or cone. By splitting a rhizome from a known female plant, the grower removes any doubt of the coming plants sex. Usually the only time hops are grown from seed is when the grower wishes to cross-pollinate two different varieties to create a new distinct breed. The first year hops are grown from a new rhizome, it will not deliver sprawling monster vines and tons of hop flowers. It may not even flower in its first year. But as the years go by, the yields get bigger. The hops plant reaches maturity at around its 3rd year. From then on, it is possible to grow giant plants with massive yields.
Growing Hops at Home
The first step in growing your own hops is to acquire some rhizomes. Rhizomes typically start hitting store shelves in March. Keep in mind that they won’t be able to be planted until the ground thaws and the risk of frost has subsided, so rhizomes purchased that early will have to be kept in a refrigerator to maintain freshness. Be sure to plant the rhizomes as soon as the ground is thawed and ready to be worked because a successful hops crop requires a minimum of 120 frosts free days. So, it is ideal to plant them as early in the season as possible: no later than May. Hops love a well draining soil, so if needed, add soil amendments, like compost, to improve soil tilth. Many growers build small mounds of soil to plant in. This is done to ensure proper drainage of excess water. When planting multiple plants of the same variety, space the mounds 3 ft. apart. If the plants are a mix of varieties, space those 5 ft. apart to help avoid getting different vines tangled up together, which can create a real hassle come harvest time. Plant the rhizomes at a depth of around 4 inches or so with the little “buds” on the rhizomes pointing up. I have had great success incorporating Mycorrhiza inoculants at the time of planting. After the rhizomes are in the ground, cover with soil and water thoroughly. The growing vines should breech the soil within a week or so. Most hops plants love sunlight so plant the rhizomes in a location that gets at least 6 to 8 hours of direct sunlight a day. Make sure the location has plenty of room vertically because the hops vine can grow very tall.
Caring for a Growing Hops Plant
As the little hop vines begin to emerge from the soil, the first thing a grower should be worried about is watering, specifically when to water and how much. The root system of a first year hops plant will be minimal in size so it’s important to water frequently but in small dosages. This may mean watering daily, if there has been little rainfall. With plants that are two years and older, the root systems are much more established and prevalent, so it is better to water less frequently. Maybe only water the plants two or three times a week during dry periods, but with a higher dosage level. Established hops plants benefit from what is referred to as a deep watering. Utilizing a method such as drip line irrigation gives the grower the ability to water slowly, but for long periods of time. Allowing the water to be absorbed deeply into the soil and not just run off. As the plants grow bigger and start forming flowers, it may help to increase the amount of water dispersed because, at the time of maturity, the hops flower is composed of around 70% water.
As I mentioned earlier, hops like to climb and they are darn good at it. As a result, it is imperative that the grower build some sort of trellis or maybe even just a pole in the ground with some strong twine or wire tied at the top of the pole going down to the base of the plant. When the vines reach about a foot-long, begin training them to the trellis or twine. It is possible to run hop vines horizontally, similar to a grape vine; however, this method takes much more attention and vine training because they will want, with all their might, to grow straight up. For a plant in its first year growing, allow all of the emerging vines to grow. This vigorous growth will help grow and establish the rooting system and prepare it for the dormant season and, subsequently, next year’s growth. For the years to follow, the most common advice is to heavily prune the plant until only two or three vines per plant are allowed to grow. A hops vine can grow as tall as 25 ft. in one season so it is beneficial to fertilize. It is a good idea to mix a slow release granular fertilizer into the soil when planting, but not a must. Applying a fertilizer with a balanced NPK (like a 10-10-10) once a month will increase growth and yield significantly. For the organic grower, use a mixture of liquid fish emulsion, sea kelp extract and humic acid, for increased growth and micro-nutrient utilization. Apply directly to the roots at the base of the plant, not the leaves. Do this about once a month as well.
When to harvest
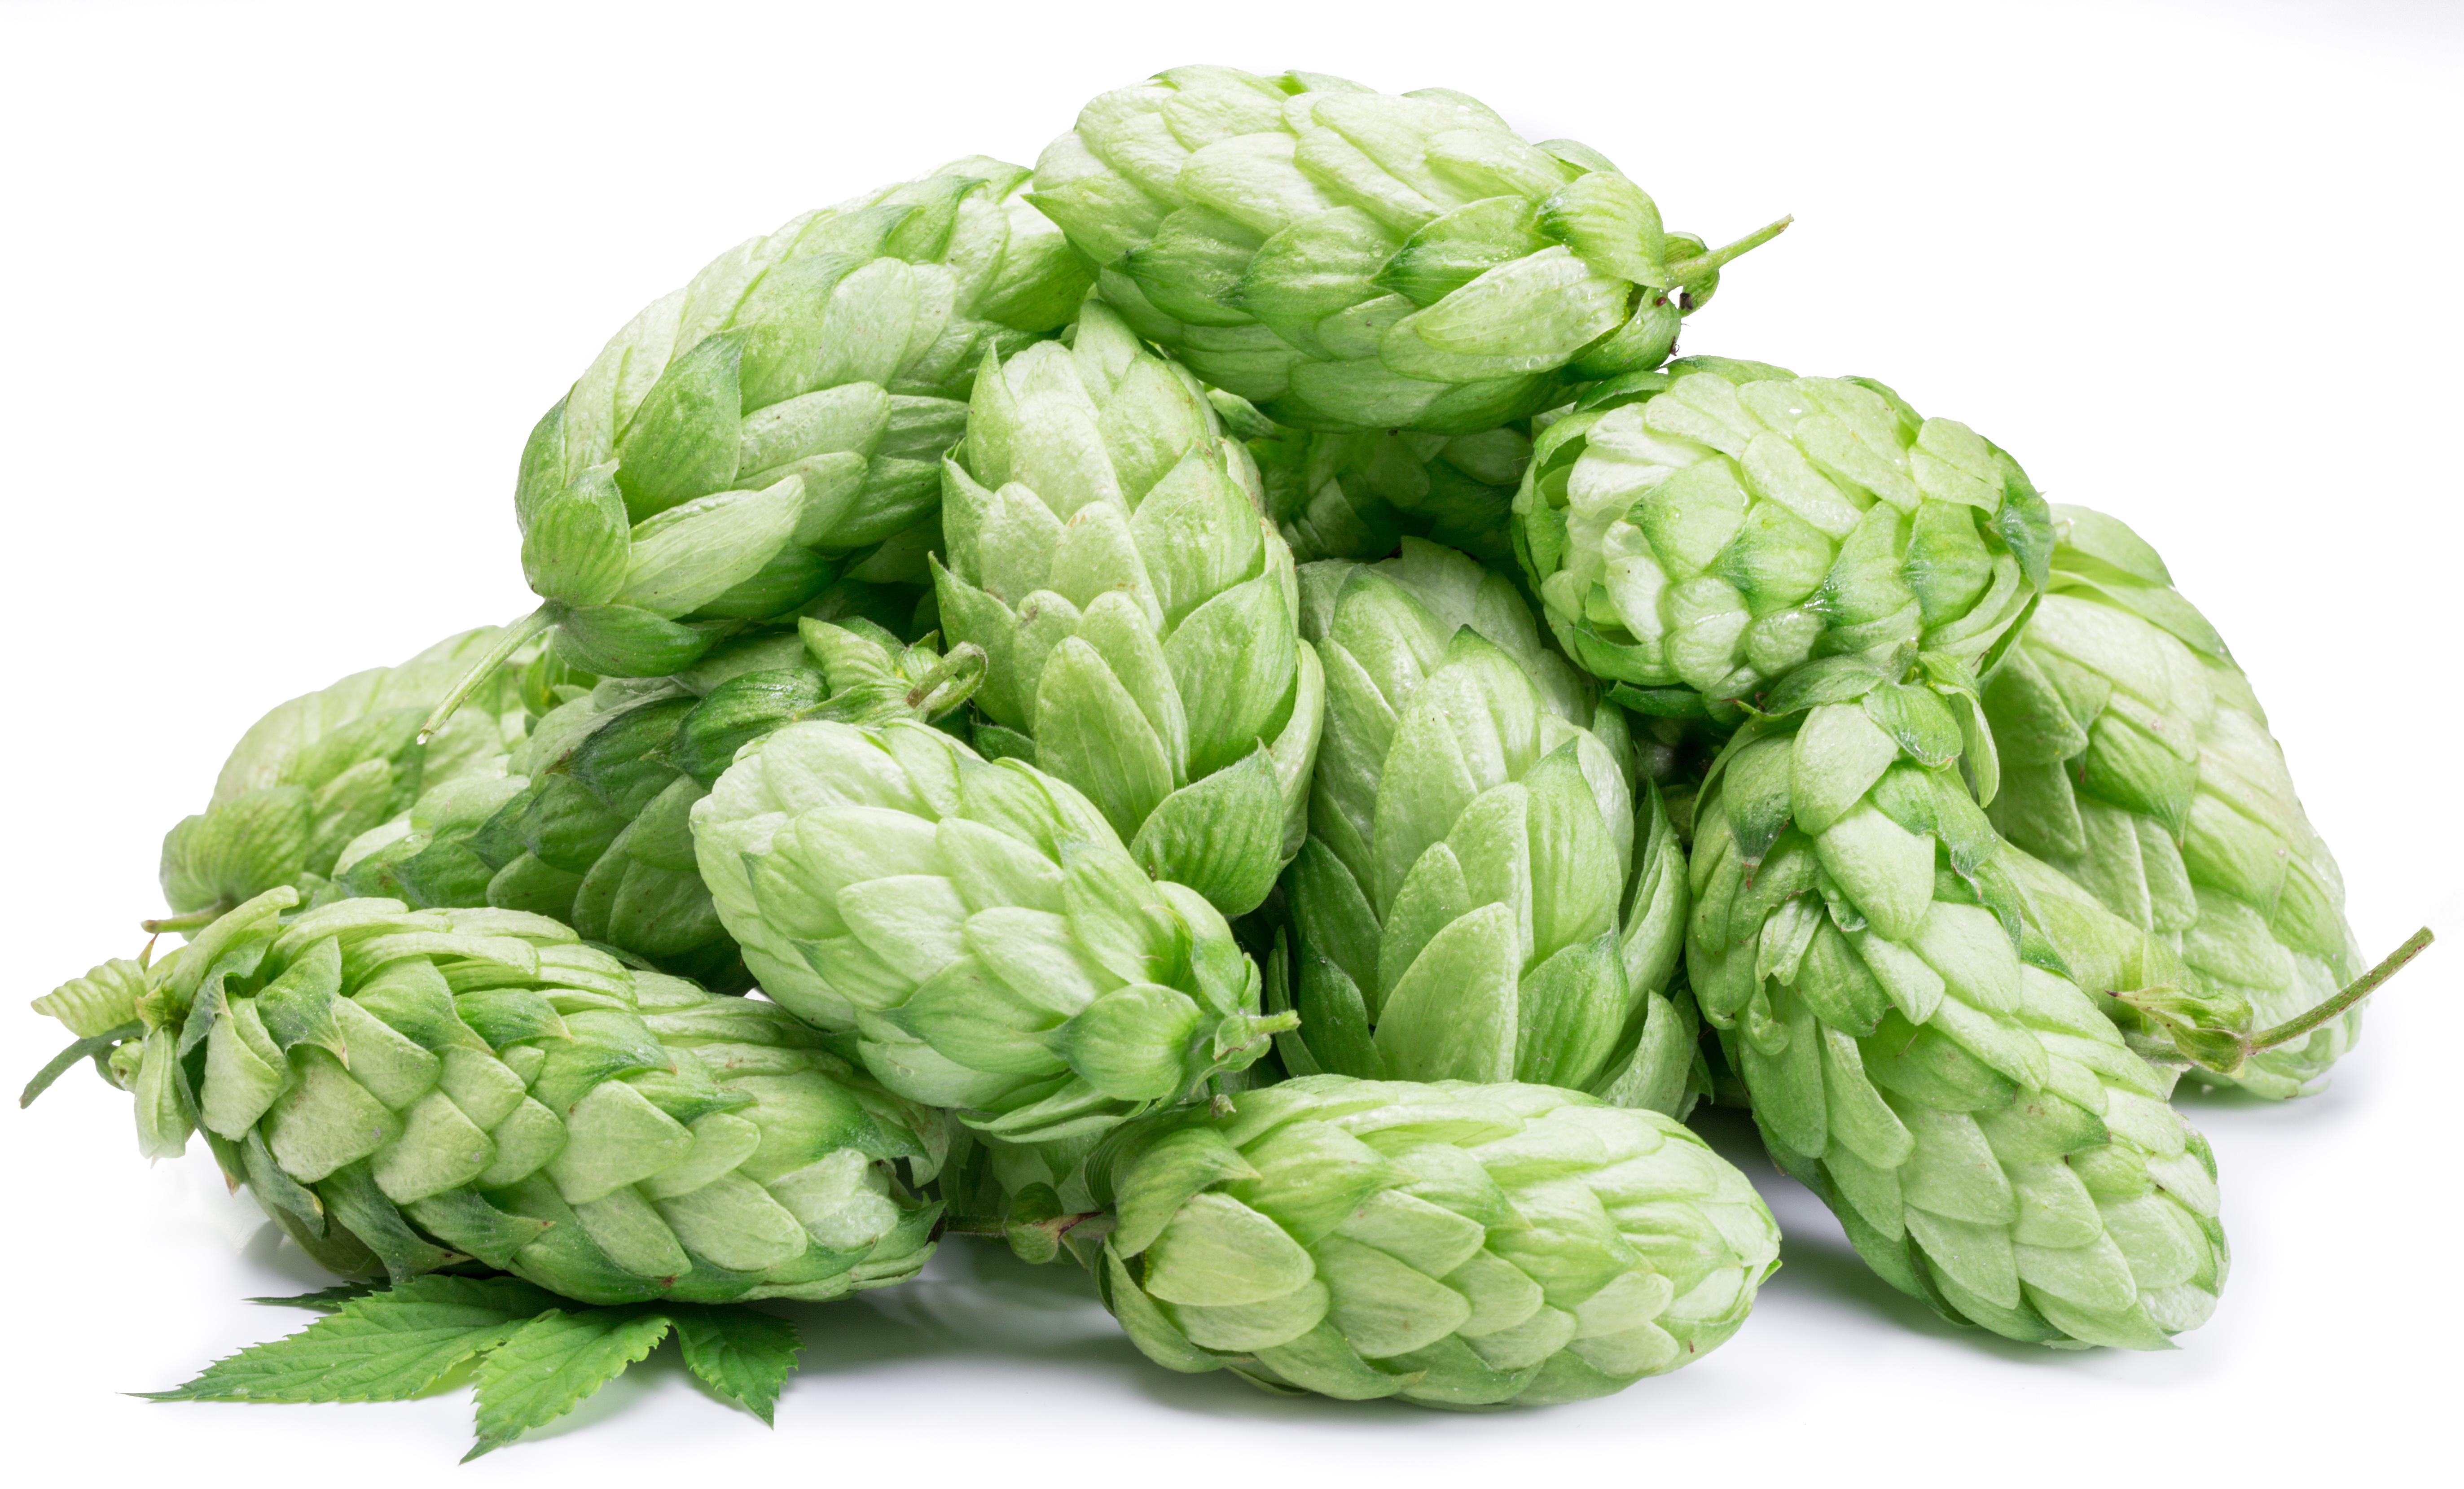
Hops usually begin forming flowers or cones around middle to late July, but there can be slight variations between different varieties when it comes to harvesting times. Making a note of how long each type will take to mature will give the grower an idea of when they may be ready. However, the time tested and possibly best way to know when hops are ready for harvest is to use and trust ones senses. The first being sight. A ripe hops cone will be a lighter color green when compared to a growing cone that is yet to reach maturation. But sight can only show so much. The next step is touch. Remove a cone from the vine (don’t worry, it is a worthy sacrifice when trying to pin point the exact peek of ripeness) and give the hops a little squeeze. If it feels somewhat soft and is slow to puff back up after being compressed, then it is not ready. If that little cone feels more brittle and paper like and, if when squeezed, it pops back to its original shape with ease, then, that cone may be ready to harvest. But to be completely sure of its readiness, one must bring in the most sensitive of the senses, smell. Smashing the cone between fingers and even tearing the little cone to pieces should unleash a strong grassy aroma that cannot be ignored. A ripe hops flower, after being smashed and torn, will also make the holder’s fingers very sticky from the yellow pollen that is called lupulin. So, if at the end of this party of the senses, a grower’s fingers are nice and sticky, chances are those hops are ready to be picked.
Fresh hops can be used for making both beer and tea, but they must be used quickly before they go bad. If the hops are to be used at a later date, which is likely with a large harvest, they should be dried first and then stored in a freezer. They can be dried on a dehydrator, but not for too long. On a dehydrator, they may only take a couple hours to dry. Anything longer may ruin the quality of the hops. Another way to dry them is to build a frame with some 2x4s, cover the area in the center of the frame with screen, place the hops on the screen and position a fan to blow the air around them. This method may take more time to dry than a dehydrator, but it is an easier way to ensure the quality of the hops. Once they are all dried, place them in as air tight of a container as possible and store them in the freezer. Food saver style vacuum seal bags work great. After the harvest is done and the hops are either used or in storage, it is now time to sit back, relax and welcome yourself to a special place within the time honored tradition that is growing hops.
*Warning! The hops flower/cone can be very poisonous to dogs. So caution on the safe side and keep any four-legged friends away from the plants.
