
D.I.Y. Potato Barrel
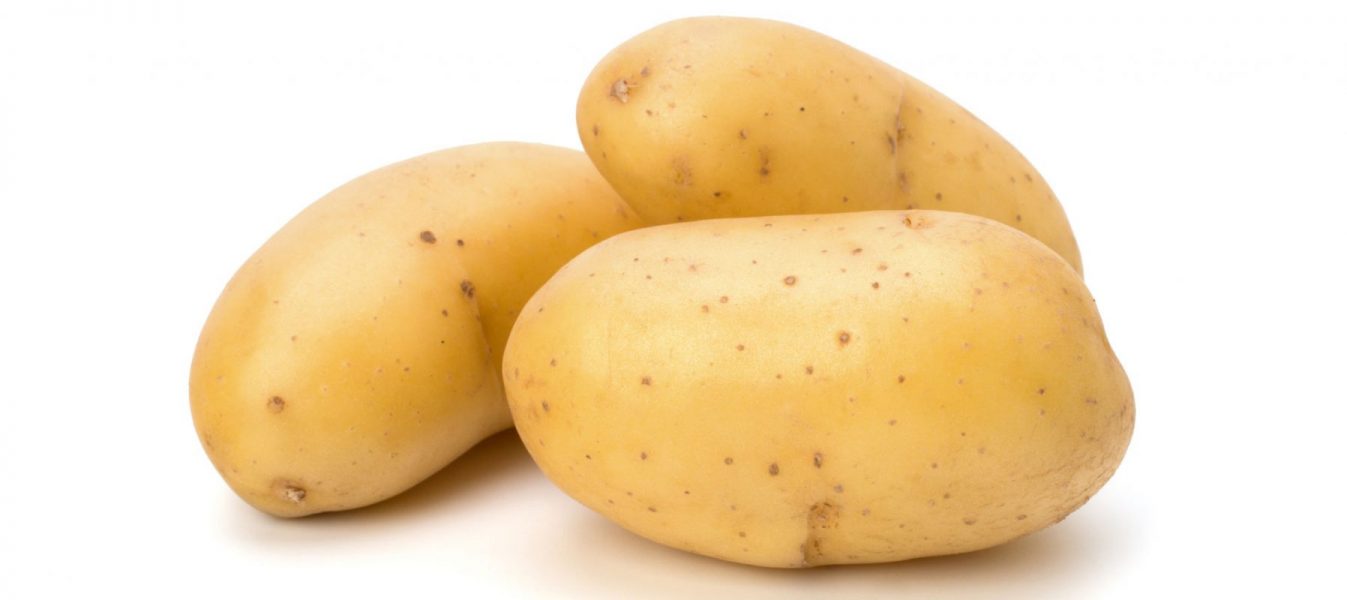
Potatoes are easily one of the most beloved root crops grown by the home gardener. They consistently produce high yields, are relatively easy to grow, keep well in storage and are enjoyed by the pickiest of palates. However, with all things considered, growing potatoes in a soil garden is a lot of work. Digging the trench to plant the seeds, periodically mounding dirt around the growing plant (the key to maximum yields) and general garden maintenance all require some serious dedication. So, in an effort to simplify, why not try things a bit differently and grow those potatoes in a barrel? It’s as simple as six steps and can easily achieve impressive yields come harvest.
Step 1) First things first, get a barrel. 55 gallon barrels can be bought from retail stores, but certain manufacturing facilities will often give used barrels away for free upon request. Companies that use food grade materials are the best place to ask because they can assure you the barrel did not contain hazardous chemicals. Either way, the barrel should be thoroughly rinsed before planting. Whisky barrels (for visual appeal) and trash cans can also be used, but be sure to avoid anything black as it will get extremely hot in the summer sun and ruin the potatoes. If the barrel has a top, cut it off.
Step 2) Drill holes! The key to a successful potato barrel is proper drainage. We want the soil to be moist but not soaking wet, because this can rot the growing spuds. Drainage holes in the bottom of the barrel are a must; however, drilling additional wholes around the side of the barrel about 6 inches apart for even drainage is recommended. It is also a good idea to set the barrel up on a couple cinder blocks to ensure proper drainage from the bottom holes.
Step 3) Add 6-8 inches of loose, high-drainage potting soil to the bottom of the barrel. Including a fluffy compost or some straw in the mix will improve drainage and aeration, while helping to combat against over compaction of the soil. Plant seed potatoes “eyes” up 6-10 inches apart and cover with 2-3 inches more of the soil mix. Only planting a maximum of 4 potato seeds per barrel is recommended.
Step 4) Water in thoroughly with enough water to ensure that drainage is adequate. From this point on, depending on weather conditions, the barrel will likely require weekly watering.
Step 5) Once the sprouted plants reach a height of around 8-12 inches above the soil line, top it off with another 6 inches of the soil mix. Potatoes, along with tomatoes, are a member of the Solanceae, commonly known as the nightshade plant family and, like tomatoes, will grow roots from the parts of the stem that are covered in soil. For potatoes, more roots equal more crops and this is the reason why the potato barrel concept works. Continue this process until the soil line reaches the top of the barrel and the whole thing will be filled with delicious suds.
Step 6) After the barrel is full of soil and the plants are growing out the top, flowers will begin to form. Once they are pollinated, the plant will have completed its growth cycle and begin to turn yellow/brown and die back. After this occurs, simply tip the barrel over onto a tarp and sift through the roots to retrieve the harvest.
Depending on the overall contents of the soil mix, the growing plants may need additional fertilization along the way. Watering every 2-4 weeks with a liquid fertilizer or mixing organic nutrients into the soil mix each time it is topped off should provide adequate nutrition as they grow and develop. Overall, the most important aspect to pay close attention to is maintaining adequate moisture levels, while not allowing the soil to become overly saturated. This is the single biggest key to growing loads of potatoes from a single barrel.
